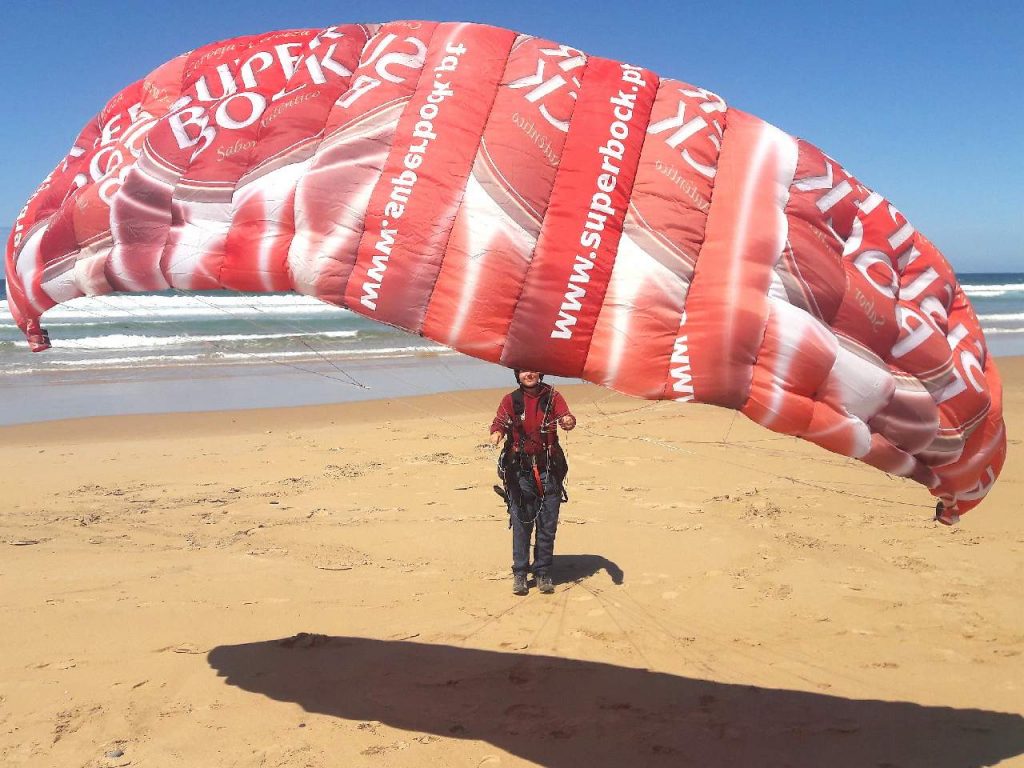
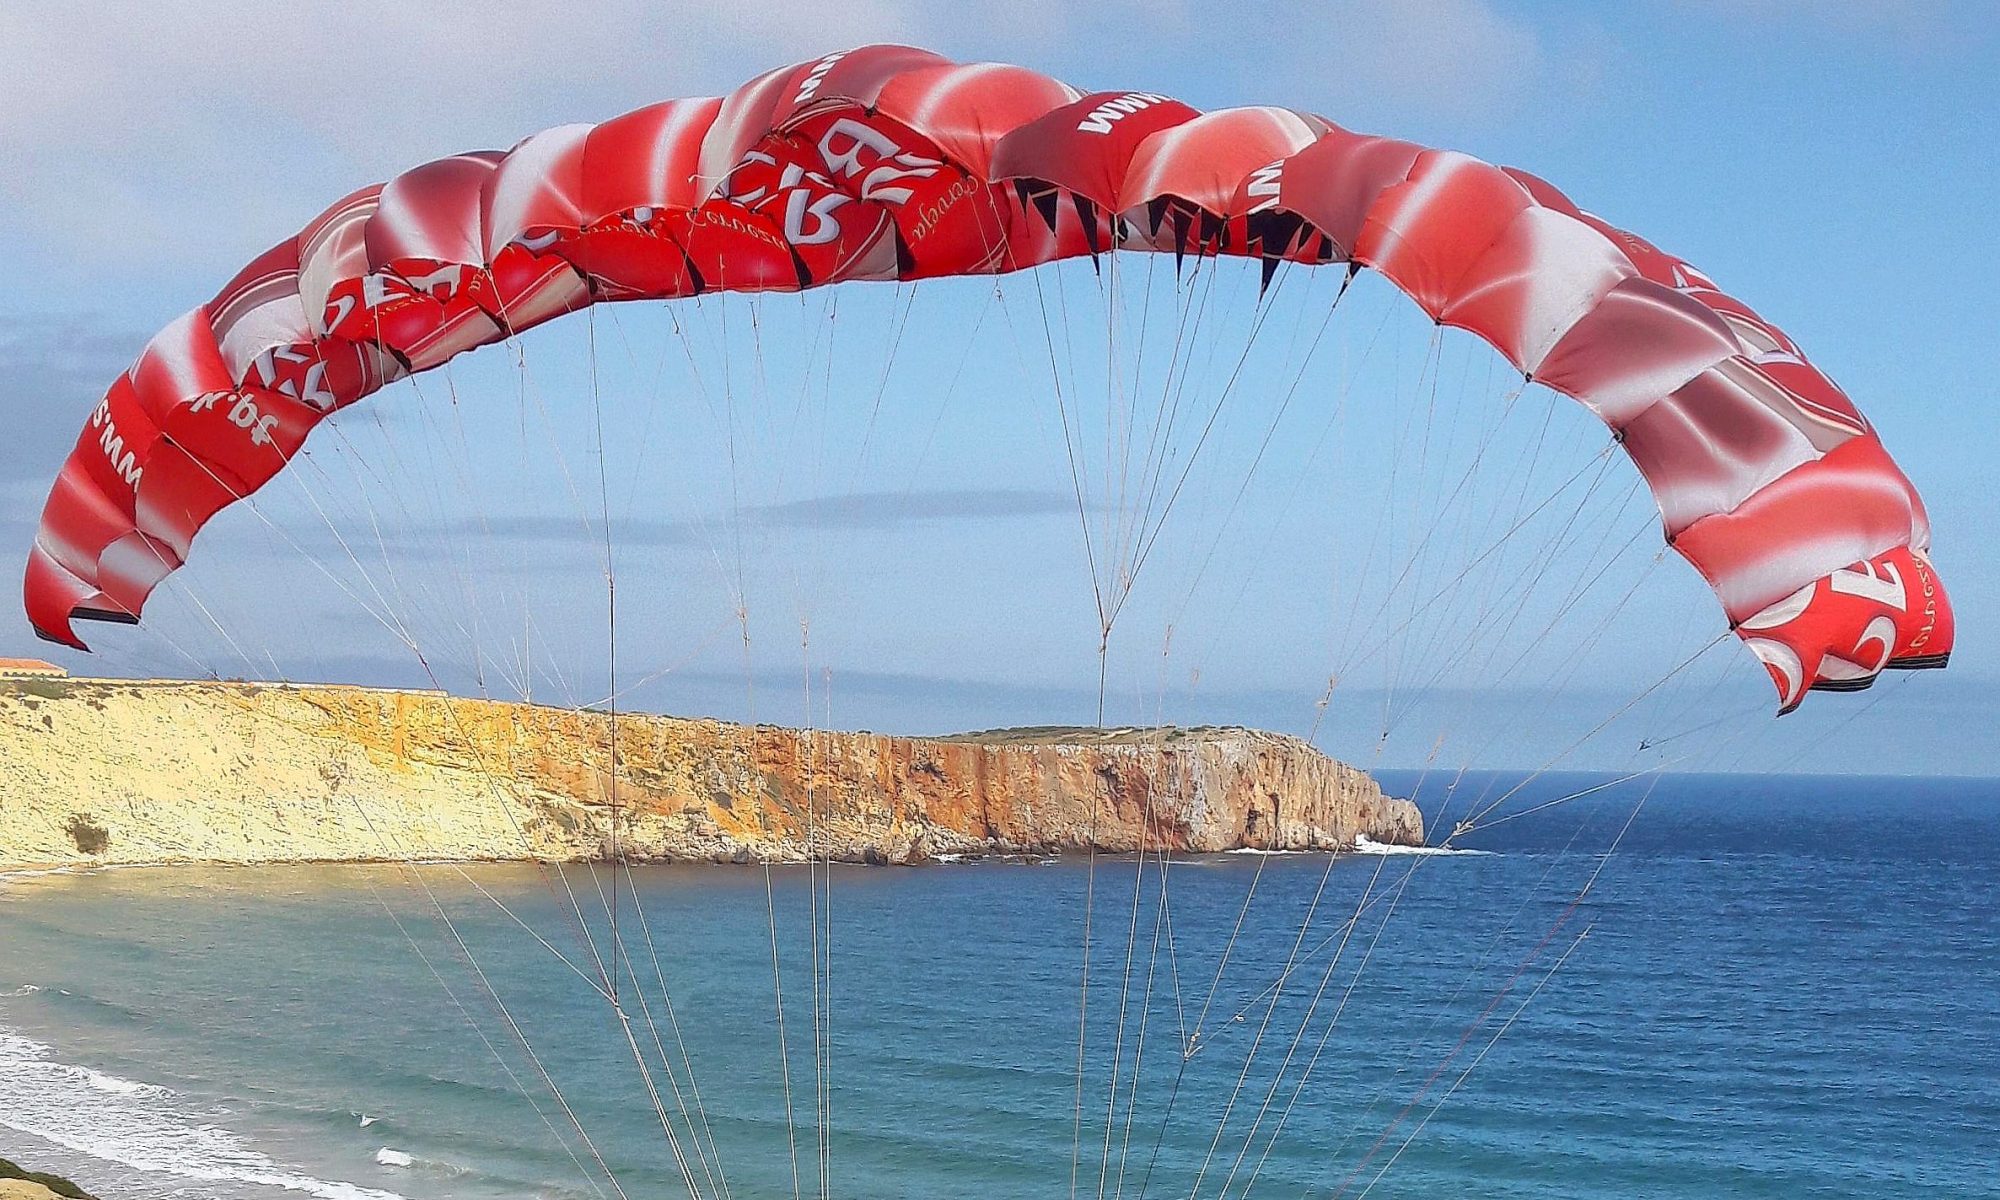
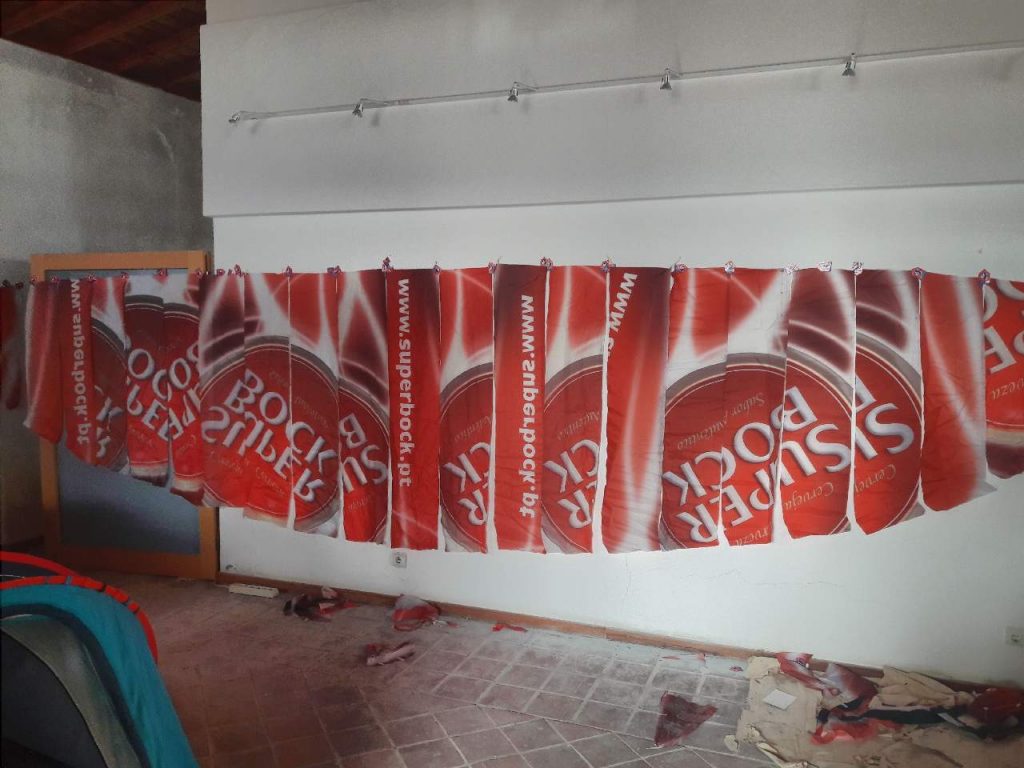
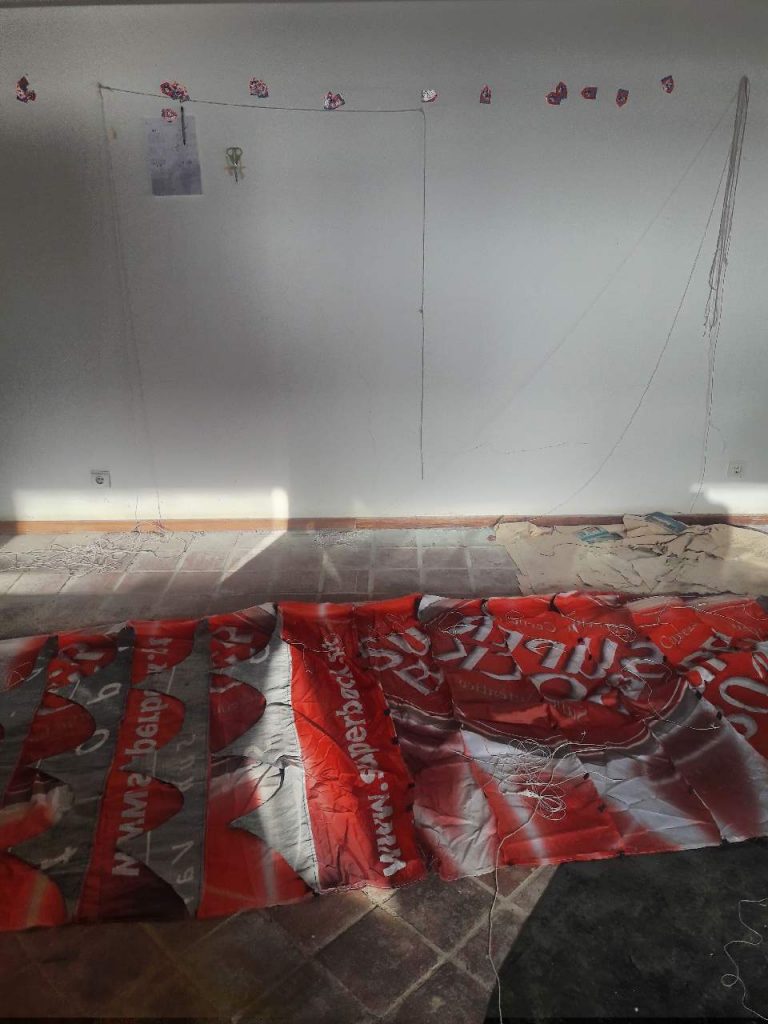
one winter after the making of two R/C paragliders. i find 10 square meters of advertisement banners and lots of scrap lines. and still an unquenched thirst to make (larger) paragliders…i call this one the lutefisk 2.5 because it’s based on the plans of the lutefisk, tadaa! scaled up by 2.5 so it makes about 6 square meters flat. also, i expected to not be able to use a sewing machine for this project, so i came up with some crazy ideas to save myself some sewing work.. see below if it worked out!
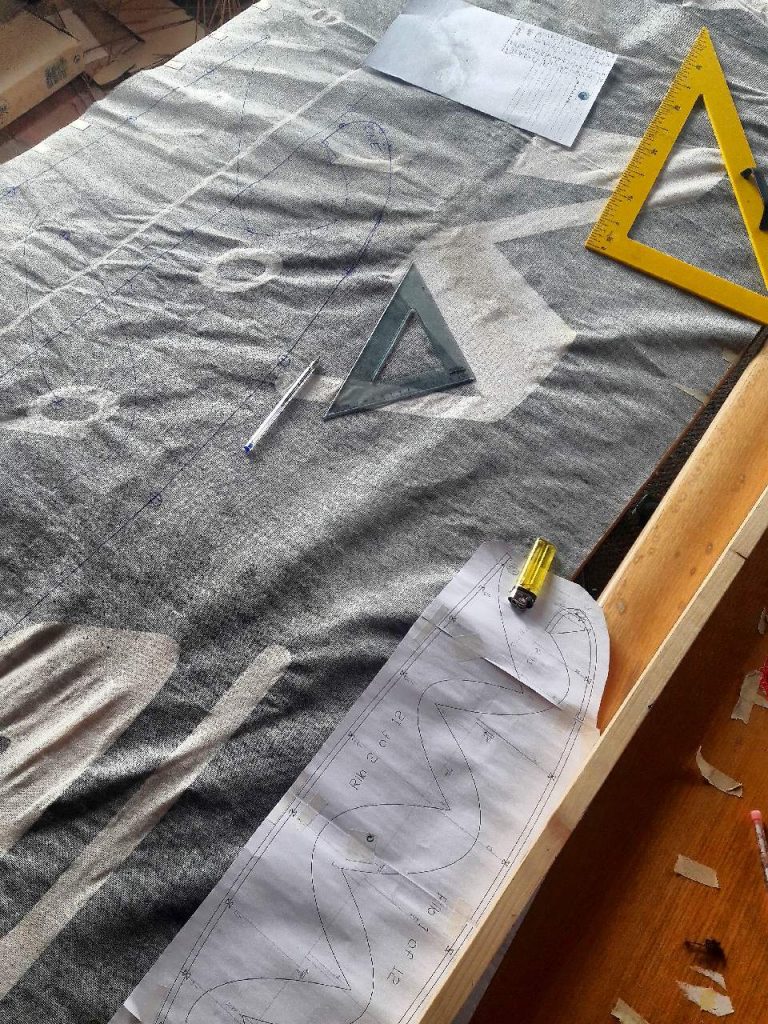
i began with manually scaling up the printed plans of the lutefisk, which i still had from last winter’s project:
then drawing the scaled up coordinates of panels and ribs onto scrap fabric:
in this step i wanted to save myself of some sewing work, as i expected to have to sew all of the panels and ribs BY HAND. i guessed that maybe i could leave out ribs and instead invent another cascade of lines. for the center of wing i turned each former rib attachment point into a line split, from where two lines would go up to new attachment points right at the seam of two panels. in the outer part of wing i thought it would be fine to connect each original gallery line to the seam (just making it longer by as much as the rib would have made it longer). i tested my ideas by cutting the ribs of the small lutefisk i made last winter, it seemed to be okay. for sure there were more wrinkles in the fabric, but i couldn’t see it affect the flying characteristics for groundhandling. however, to test my ideas i decided to go for 4 original ribs, that are ribs 1 to 4 on the right part of wing. this way i could see on the left part of wing if there were more wrinkles lateron, in the air.

what did i learn from this project?
- it’s a lot of work to make a single skin glider! especially drawing and cutting – in future projects i’d like to get machine cut fabric
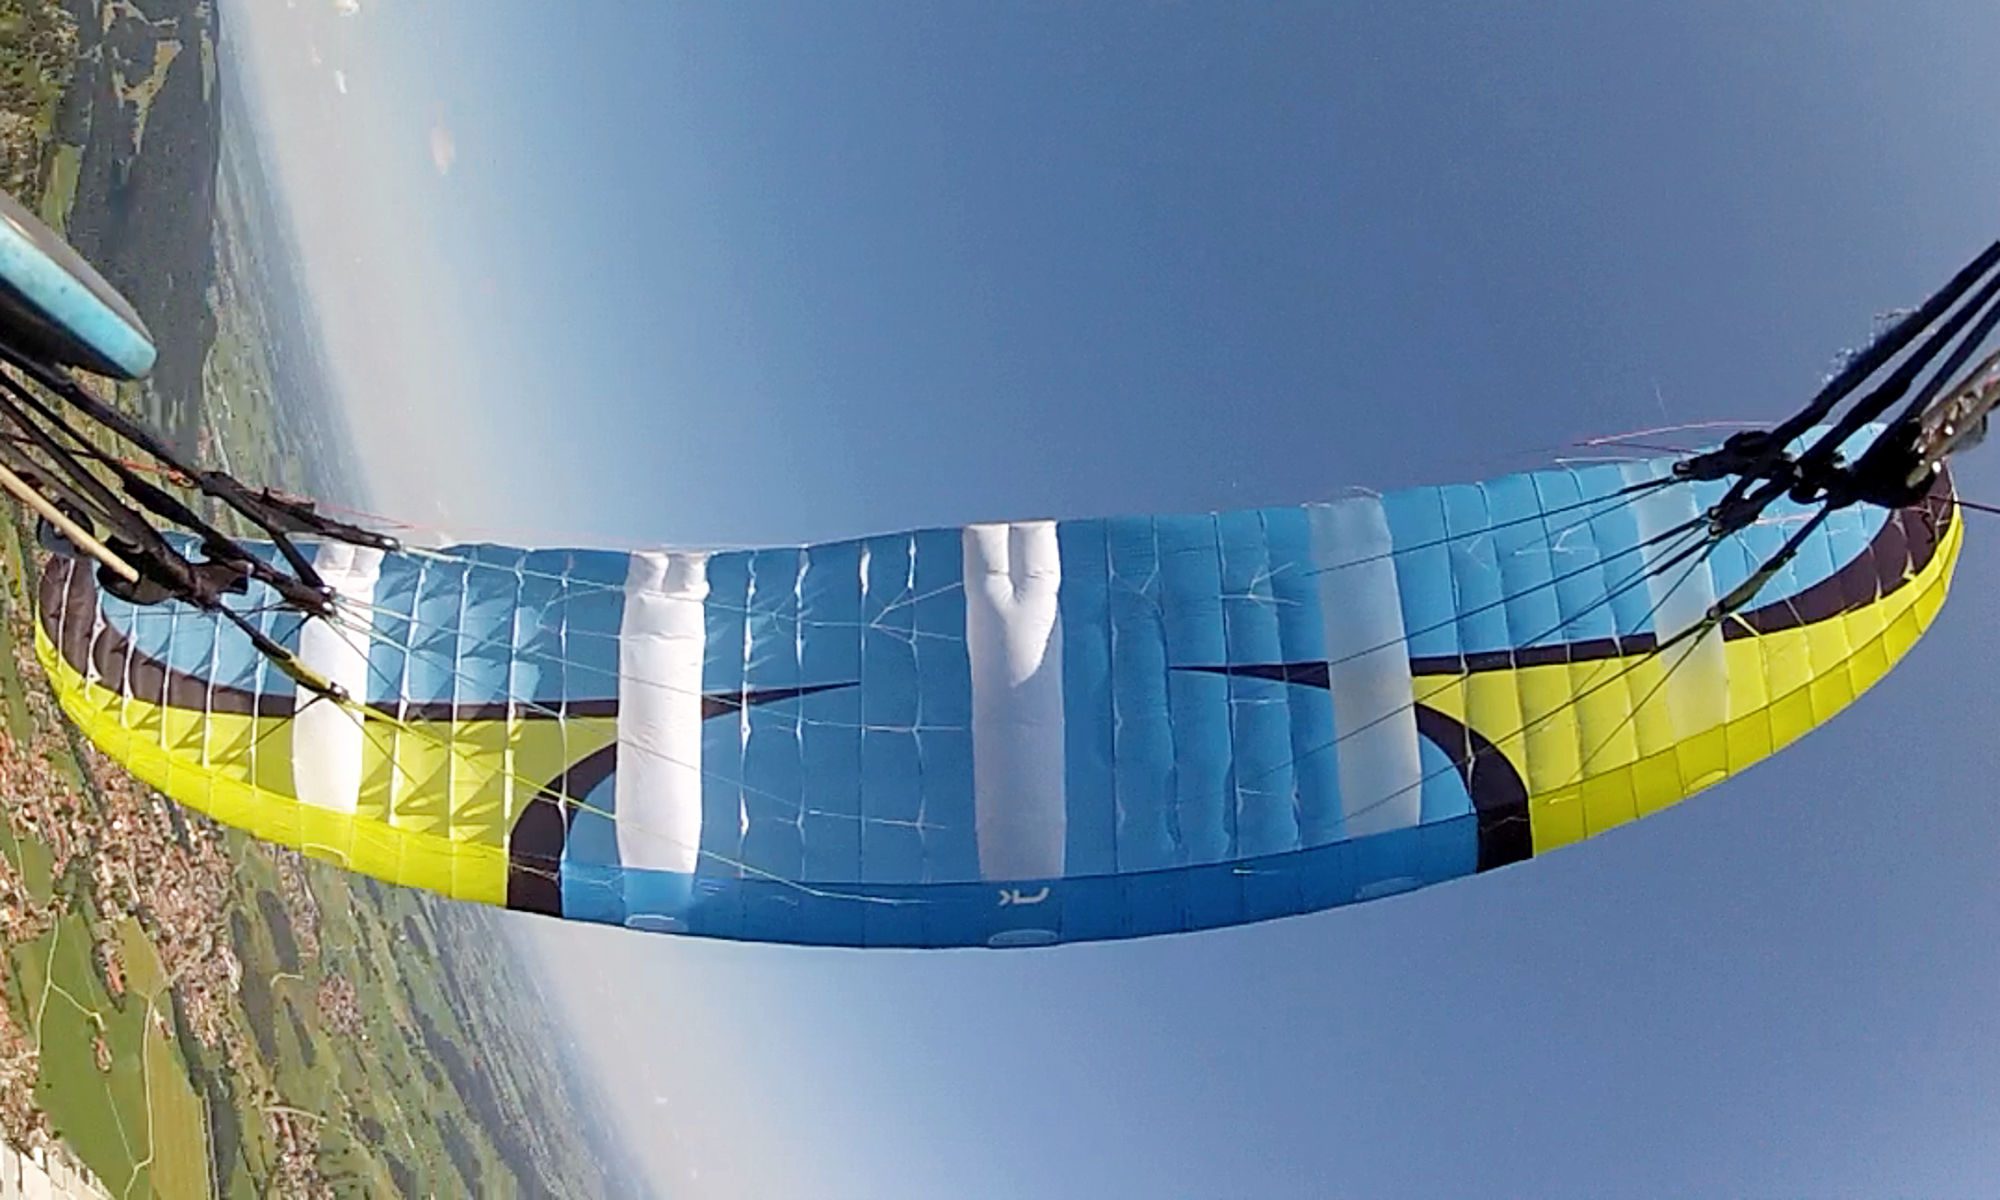
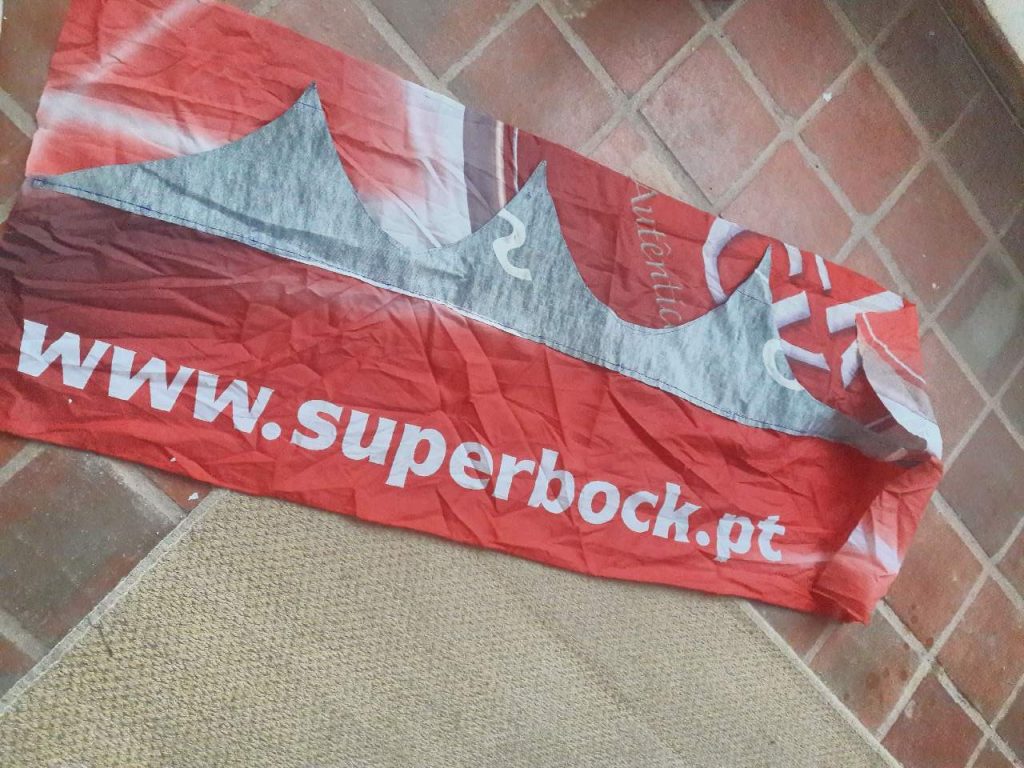
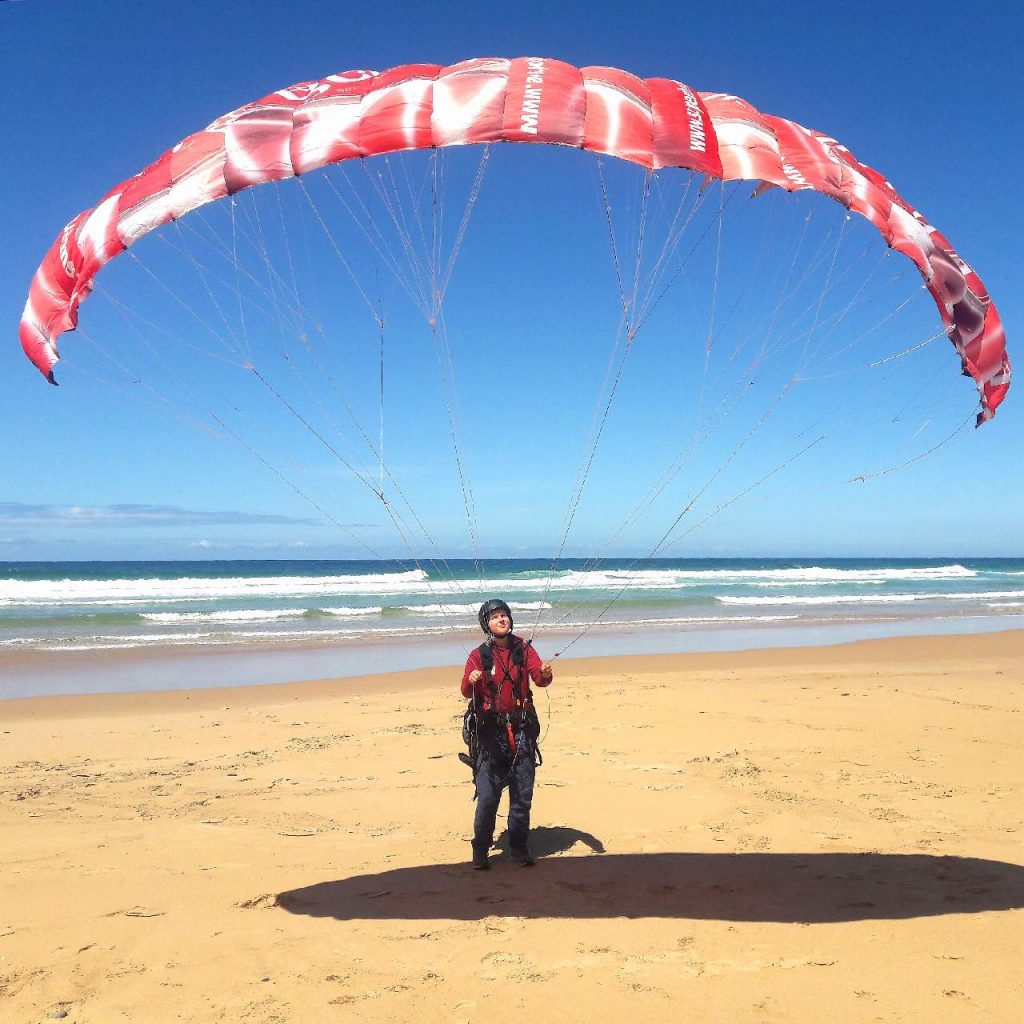
- ribs are needed! see picture below. i ended up with lots of extra work, for instance reinforcing the nose with guesstimated ribs just for the first 20cm
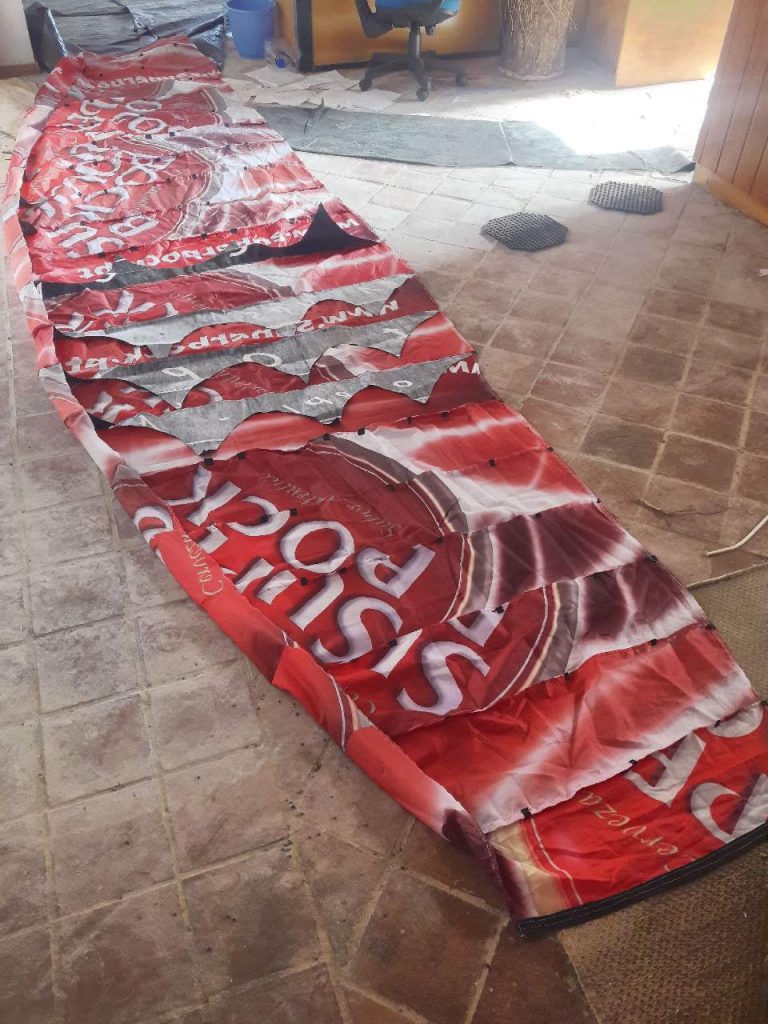
- this glider hangs back alot, which is nice for your neck when groundhandling, but absolutely impossible to launch. i don’t know if it’s drag created by the camelback-like shape that results of leaving out the ribs, or if it’s just the plan of the glider. (it does fly as an R/C glider on youtube, which speaks for the plan to work)
- some bowline knots undo themselves. gotta sew or splice lines in the future and that’s even more work 🙁